Yay! Congratulations on purchasing the most magical presets in the world!
Please read this entire page carefully, in order to get the most of these incredible presets it's important to implement everything below.
Let's make everything around you beautiful!
You will soon receive an email inviting you to set up an account with Nami Creative Education. Please set your password, and from here, you will be able to view the downloadable preset files.
NOTE: If you already have an account with me (you bought a course before) simply log in here. Your presets will be waiting for you in the library!
Forgot your password? Simply reset it xxx
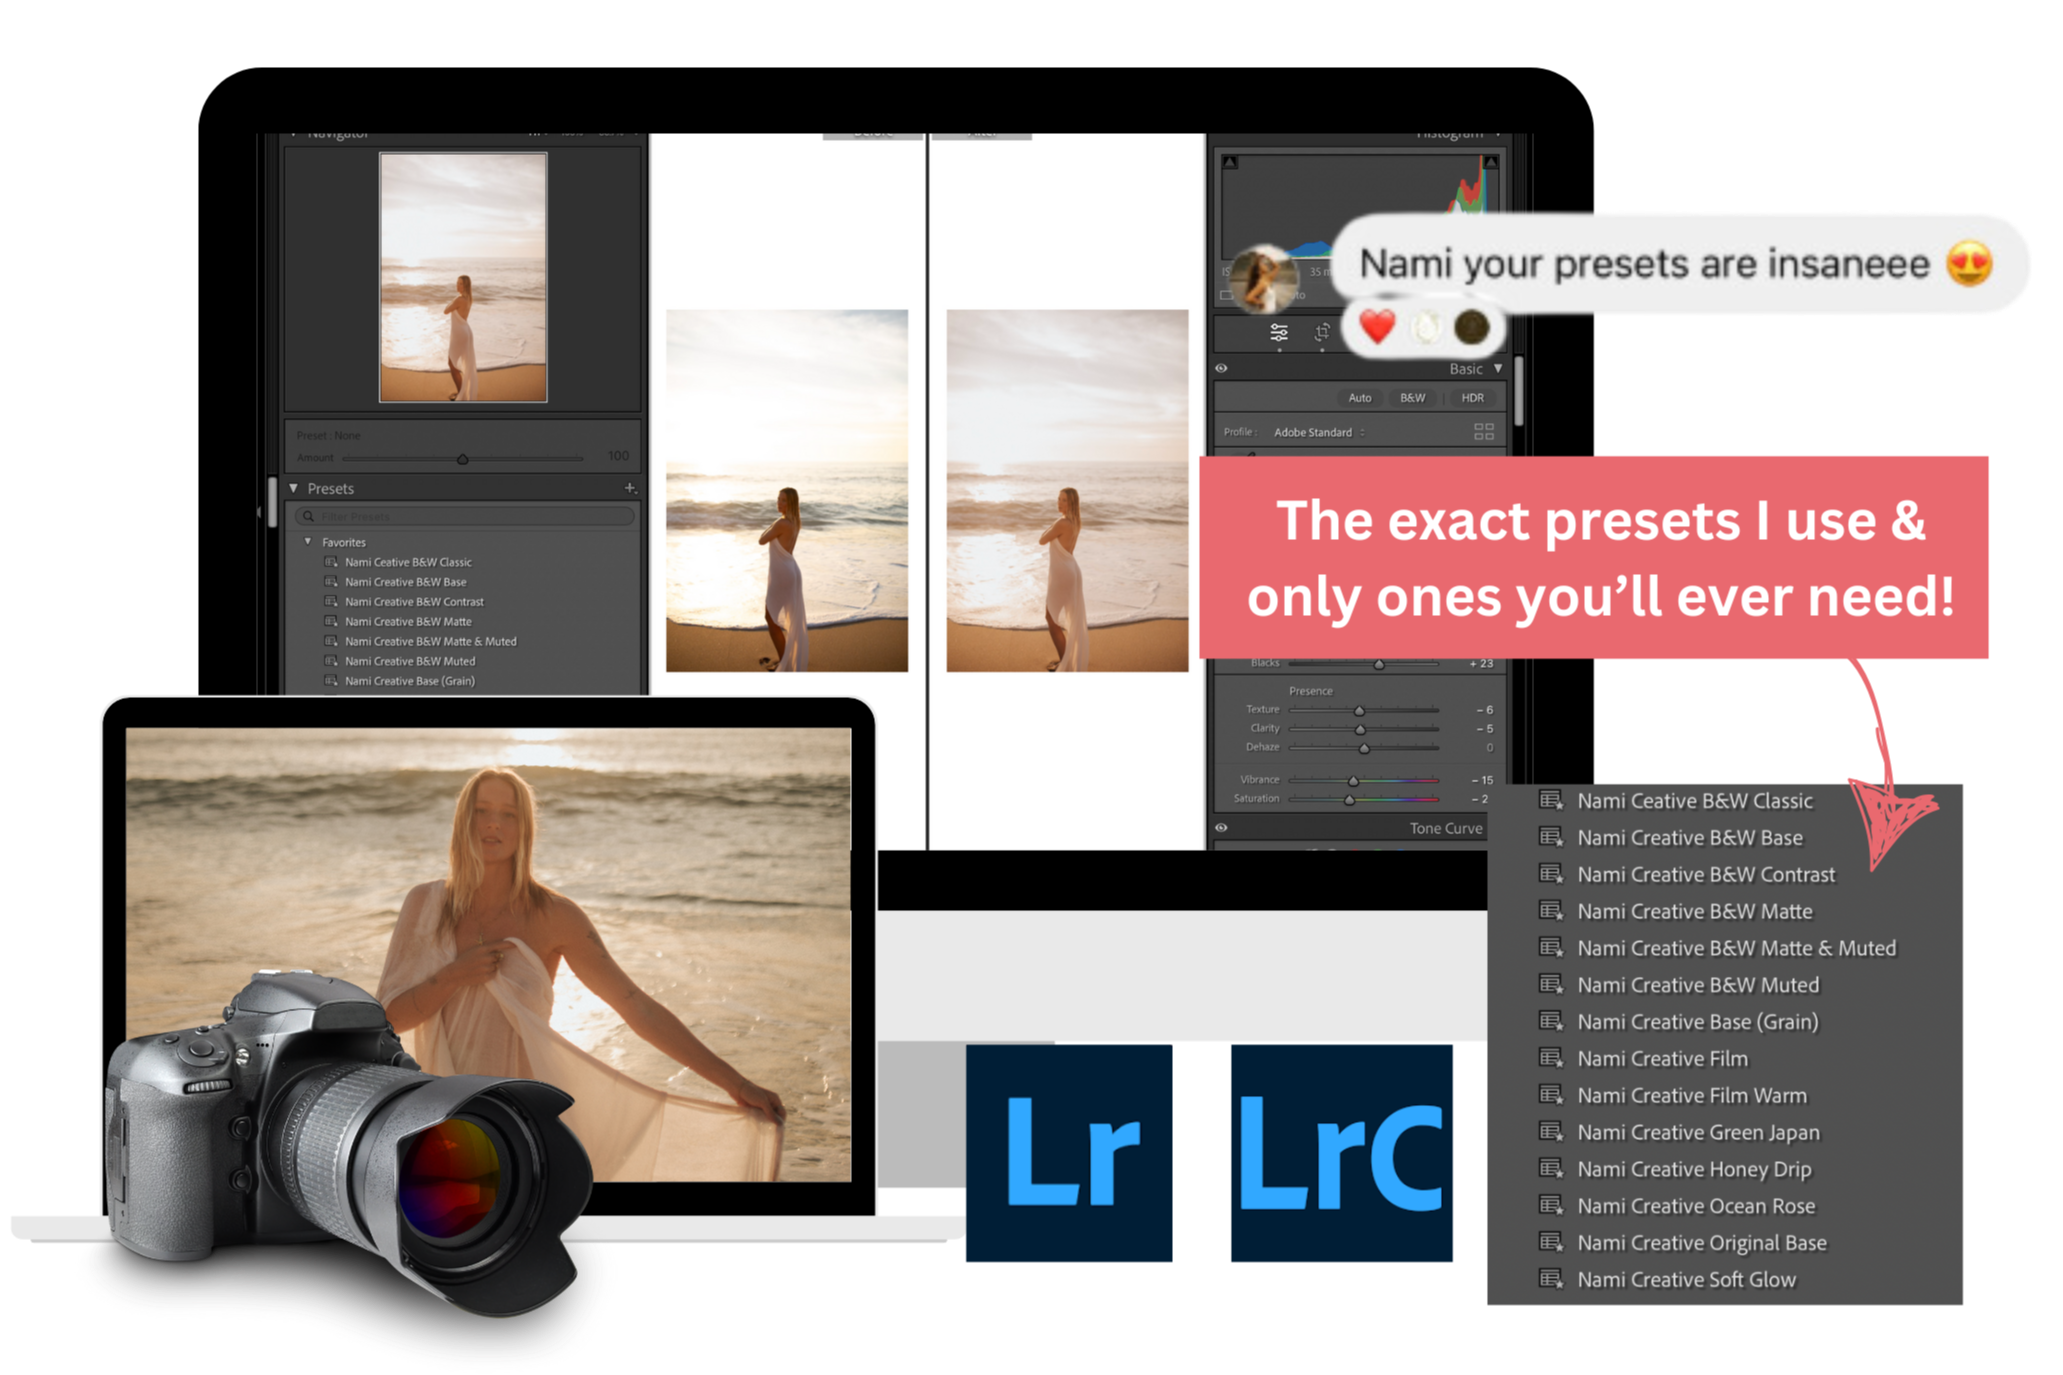
Let's take a quick look into how to Install your Lightroom Presets
Hey there! Installing presets to Adobe Lightroom is super easy, and you’ll be up and running in just a few clicks. The newer versions of Lightroom make it even simpler with the handy “Import Presets” button.
Installing Presets in Lightroom Classic (Version 7.3 or later)
For those on Lightroom Classic version 7.3 or newer, this is a breeze. Here’s how you can do it:
- You'll soon receive an email inviting you to create an account with Nami Creative Education—click the link to set your password. Note—please check your junk folder if you don't see this invitation in your inbox. If you are already a student, you won't receive this email—you'll just need log in to your account.
- Download your preset pack—it’ll come as a .zip file and be viewable in your library.
- Open Lightroom and go to the Develop Module.
- Head to File > Import and Develop Profiles and Presets.
- Find the preset .zip file on your device and upload it. Easy!
- Once done, you'll see your presets ready to go in the Presets panel on the left.
Installing Presets in Lightroom 4, 5, 6 and Classic (Older versions)
If you’re rocking an older version of Lightroom, here’s what to do:
- You'll soon receive an email inviting you to create an account with Nami Creative Education—click the link to set your password. Note—please check your junk folder if you don't see this invitation in your inbox. If you are already a student, you won't receive this email—you'll just need log in to your account.
- Download your preset pack—it’ll come as a .zip file and be viewable in your library.
- Download your preset pack as a .zip file, then unzip it.
- In Lightroom, go to Preferences (Edit > Preferences for Windows or Lightroom > Preferences for Mac).
- Under the Presets tab, hit Show Lightroom Presets Folder.
- Navigate to Develop Presets, then drag and drop the .lrtemplate files there.
- Restart Lightroom and voilà—your presets are ready!
Installing Presets in Lightroom Mobile
You’ve got two options here:
Method 1 (Recommended):
Sync via Adobe Creative Cloud.
- First, install the presets in your desktop Lightroom (using the steps above).
- The presets will automatically sync to your mobile app via the cloud. Done!
Method 2:
If you don’t have a Creative Cloud subscription, you’ll need to manually import presets:
- Download the .dng preset files to your phone.
- Open Lightroom Mobile, create a folder, and import the .dng files.
- Open each .dng image, then tap the three dots and hit Create Preset. Do this for each file, and you’ll be all set.
If you have any questions or require any help please do not hesitate to reach out: [email protected]
Mobile LR Preset Installation Demo Video - PLEASE watch this x
How to edit your photos in LR
Follow along as I show you exactly how to edit your photos in LR.
Do you want to get access to more editing masterclasses?
Simply click HERE (over 90 minutes of editing, FREE for you) x
Watch more Editing Masterclasses HERE
How to edit your mobile photos
Because your beloved mobile memories deserve the touch of nostalgia and magic too.
How to edit your mobile videos
Because your beloved mobile memories deserve the touch of nostalgia and magic too.